Showing posts with label Wee Stamps. Show all posts

Friday, October 25, 2013

Did you know... It Is Only 2 Months Till Christmas!!!

Hello and Happy Friday!  Since today is the 25th of the month that means that it is only 2 months until Christmas so I decided to show you a Christmas card to celebrate the countdown to the big day!

Today I not only have an adorable image to show you that I am very proud of how the colouring turned out, as well as a technique that you may not have tried yet and is easy to incorporate into your card making and scrapbooking - Glitter Ritz!
On this card all the red accents you see (the scalloped circle and the outline of the sentiment) were all done using Glitter Ritz to help make the card sparkle!

Here is a look at the inside of the card...
 
Here is a close up of the image to see the Copic colours used....
Copic Colours Used:  * Skin:  E11,E00, E000  * Hair:  E37, YR24, Y26, Y21, E50  * Greens:  G28, G24, G21, G20  * Kitty:  E37, E35, E34, E31, E30,R21, R20  * Red:  R89, R39, R37, R35  * Whites:  C3, C1, C00 + Fairy Dust Sugar Shimmer Glitter  *

Here is an angled view to see the glittered areas a little better and to see the Glitter Ritz effect on the scalloped boarder....

So with only 2 months till Christmas, have I inspired you to get started on your Christmas cards too?


Until Next Time, Keep Crafting!
Hugs;

Friday, October 4, 2013

Have a Frightfully Fun Birthday!!

Hello and Happy FRIDAY!  Today I have a fun card to show you using a Halloween stamp for a Birthday card!  This card was so fun to create and colour, check it out....

 Aren't these little bats so darn adorable??!!  I set this scene for a night look in the pumpkin patch and I just love how it turned out!  How can anyone be afraid of these adorable Vampire bats?
 
Here is a look at the inside of the card....
Supplies Used:  * Image: Whimsy Wee Stamps, Batty Boo  * Copic Xpress It Card Stock  * Copic Sketch Markers  * Memento Inks:  Tuxedo Black, London Fog & Bamboo Leaves  * 3D Pop Dots  *

Here is a side view to see the 3D effect. As you can see I only "popped" the top portion of the image and attached the bottom of the image flush with the grass....
 
Here is a close up of the adorable image to see the Copic colours used....
Copic Colours used:  * Pumpkin: YR18, YR16, YR14, YR12, YR01, YR000  * Greenery & Ground:  YG67, E44, YG63, YG61  * Pumpkin Eyes and Nose:  YR23, YR21, YR21, Y15  * Bat Bodies:  W9, W7, W5, W3  * Bat Ears:  W3, W1, R11  * Cape (Wings):  N8, N6, N4, N2  * Bowtie & Shirt:  R89, R39, R37, R35, N2, N0  *

I sure hope you enjoyed today's post as much as I enjoyed making it to show to you.  If you would like to see more on this card, please visit my blog here =)

I hope that my card may have inspired you to enter into this month's challenge.  Have a fantastic Friday and I will see you again next week. 


Until Next Time, Keep Crafting!
Hugs;
 

Friday, August 23, 2013

A New Baby Girl!

 Hello and Happy Friday!  Today I have a special project to show you that I made for one of my friends who just had a baby girl.  I went out and bought a beautiful frame and decorated it for the new baby room....
 
I started off with colouring two images for the top and bottom of the frame as well as a name plaque for the center of the frame.  For the other two spaces on the frame I just chose some plain cardstock and embossed it so that they can put in two pictures of their own of their beautiful new daughter.

Here are some close-ups of the coloured images to see the Copic colours used, the stamp set that I used is Whimsy Wee Flower Fairies

 Copic Colours Used:  * Skin: E11, E00, E000  * Hair: E49, E59, E25, E50  * Wings:  RV10, BG10, BG11, 0  * Flowers:  BG13, BG11,BG10, R83, R81, RV10, YR24, YR21, Y21  * Shoes:  R85,R83, R81, BG13, BG11, BG10  * Greenery:  E46, E43, E410  * Sparkles: Sakura Gelly Roll Pens, Pink Star, Yellow Star & Clear Star

Here is a close up of the name plaque and the images inside the frame....


 Supplies Used:  * Whimsy Wee Flower Fairies  * Copic Xpress Paper  * Copic Markers  * Quickie Glue Pen  * Memento Inks: Tuxedo Black, Rosebud & Toffee Crunch

I am so happy how this project turned out and I hope that my friends enjoy it hanging in the daughters bedroom =)
 
Until Next Time, Keep Crafting!
 

Friday, August 9, 2013

You Shine!

Hello and Happy Friday!  Have you had a chance to make your creation to join in on our challenge this month with a Happy Birthday project?  If not maybe the card I have to show to you today may give you some inspiration to get creative.  I had sooooooo much fun making this card, check it out....
 
Here is a look at the layers I added to the card....
 
Here is how I decorated the inside of the card....
 
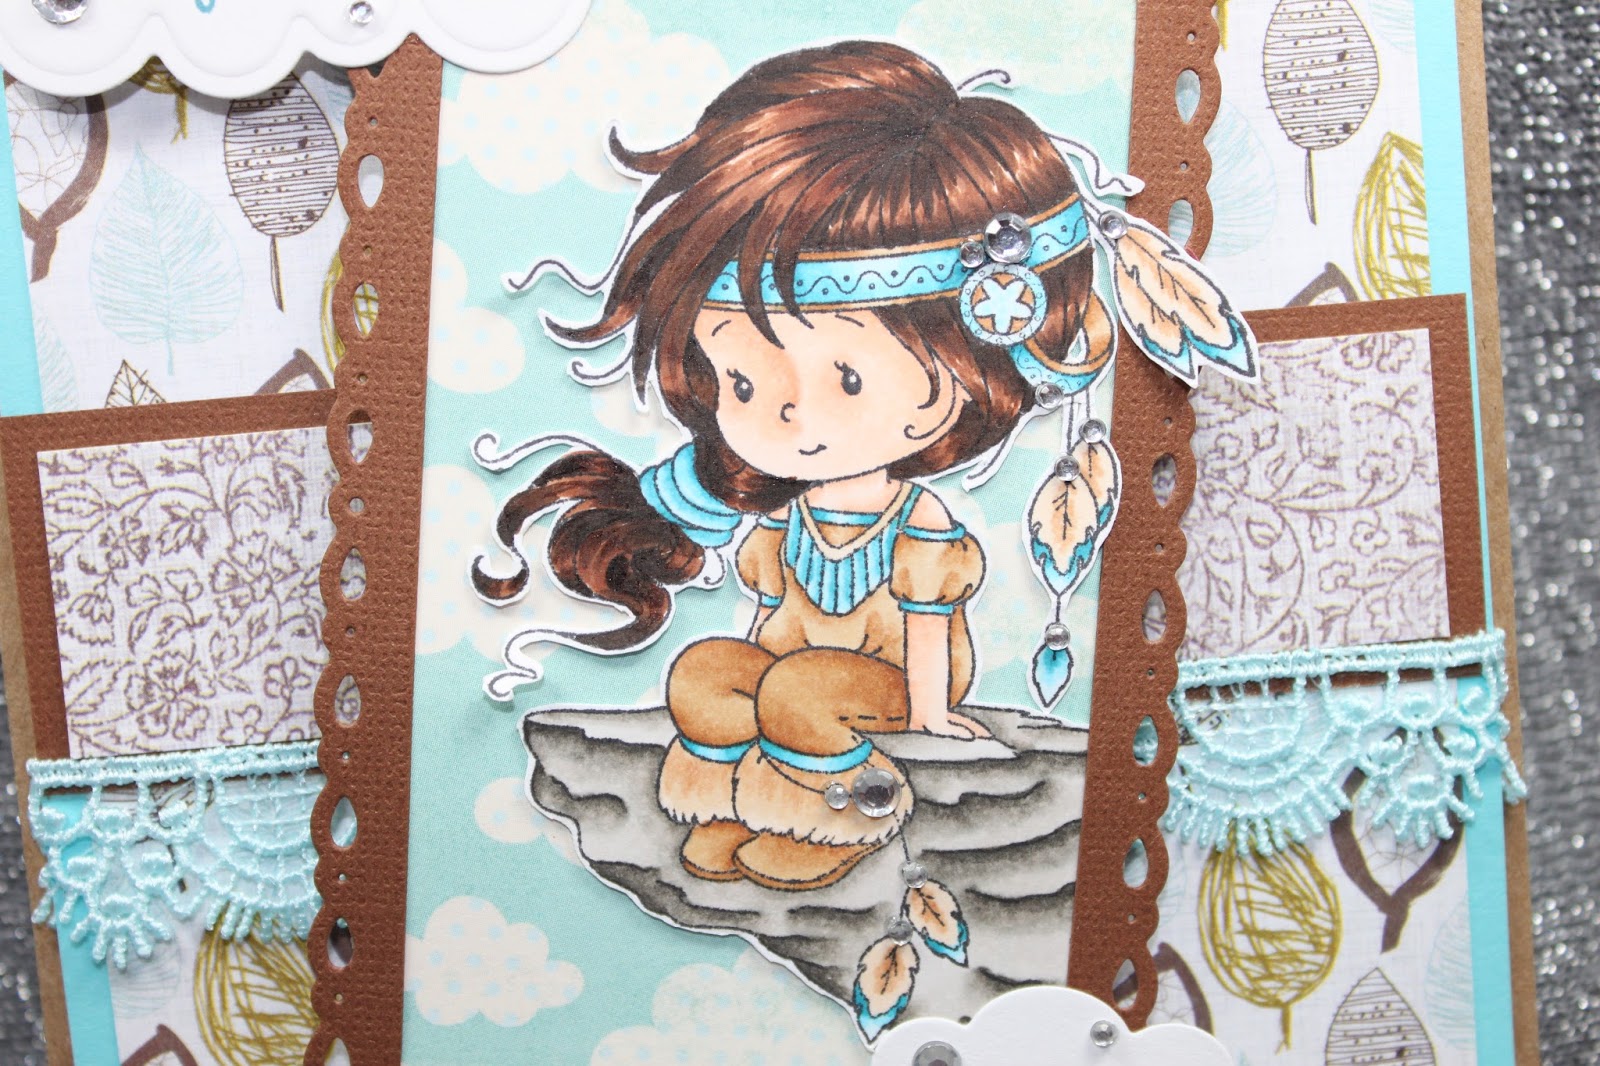
Here is a close up of the "Beautiful" image to see the Copic colours used as well as all the bling I added to the image to make her Shine....
 Copic Colours used:  * Skin: E11, E00, E000  * Hair: E49, E59, E25, E50  * Cliff: W7, W5, W3, W1  * Clothes: E35, E33, E31, E30, BG07, BG05, BG02, BG000  * Lace: BG000
 
I hope that you enjoyed today's card as much as I enjoyed making it =)  Have a great Friday and a wonderful weekend!!
 
 
Until Next Time, Keep Crafting!
Hugs;

Friday, July 12, 2013

Fairy Wishes

Hello and Happy Friday!  Another week has passed and phew am I glad - can not wait to get the weekend started!  Today I have a Birthday card to show you that I made using Whimsy Stamps/Wee Stamps "Fairy Bringer"

Here is a close up of the image to see the Copic colours used....
Copic Colours Used: Skin: E11, E00, E000 * Hair: E49, E59, E25, E50 * Greenery: G46, G43 * Flowers: V17, V15, V12, RV34, RV32, RV00 * Pants & Top: V17, V15, V12 * Vest: RV00, RV000, RV000 * Wings: RV00, RV0000 + Fairy Dust Glitter-Sugar Shimmer * Butterfly: Y17, Y13 * Ground: E40
 
I hope that you enjoyed today`s post, and if you would like to read more about this card and see the inside, please feel free to visit my bolg =)
 
See you next Friday!
 

Tuesday, June 25, 2013

A Rose By Any Other Name


I have always adored the images that Sylvia Zet draws, and now her gorgeous images are available as rubber stamps through Whimsy Stamps as Wee Stamps. Her latest release did not disappoint - this lovely "Rosetta" is a delight to color!!!


I stamped the image with Memento Tuxedo Black ink on Copic Xpress It cardstock, and then used light pastel colors to match the gorgeous designer paper from Authentique's Cherish collection. The image was cut with one of the newest Spellbinders dies - the Decorative Labels Twenty-Two. The edges of all of the designer papers are distressed, and small pearls adorn the corner of the card, which were made with a Lilac Pearl Pen. The antique lace is from my stash.
 
You still have a couple of days left to enter the challenge here at One Crazy Stamper to win an awesome stamp prize package - the challenge theme this month is Summer Fun!!


Friday, June 21, 2013

Carousel Card Tutorial

Hello and happy Friday!  Today is a special post for me as I am going to share with you a tutorial on how to create a "Carousel" Card.  What I love most about this type of card is that it is a gift all on it's own for whom ever you create it for, I guess you could say it is a mini book card.  When I was creating this card I used my favorite colour, adorable images and sweet sentiments.

I am going to forewarn you that this post is going to be VERY picture heavy.  I am not a videographer so I decided to make my tutorial using photos - I sure hope you enjoy it and I would LOVE to hear your thoughts after you have had a chance to check it out!

What made me want to make this card is this amazing Marianne Design Card Carousel Die that Lora sells in the One Crazy Stamper store, here is a photo for you to see what the die looks like...
 This great Craftable Carousel die will give you the opportunity to make unbelievable cards. You can make a full circle (which is what I have to show to you today using the largest of the dies), half a circle, or just a quarter. The possibilities are endless!

Here are photos of the tools and supplies that I used to create this amazing card....
 
Supplies Used: * Whimsy Wee Stamps - Rosetta, Flower Fairies & Ruby  * DoCrafts Wellington 8x8 Stamp Set  * Your Next Stamp, Watnot Sentiments  * Stampabilities True Friends Sentiment  * High Hopes Thinking of You Sentiment  *  Menento Inks - Tuxedo Black, Rich Cocoa & Rhubarb Stalk  *  Copic Xpress It Paper  *  Copic Sketch Markers (colours used listed below)  *  Scor-Pal 1/8 Scor Tape  *  Scor-Pal  *  Bazzill Basics Simply Smooth White Cardstock (for card Base & carousel)  * Squishy Scissors (for intricate cutting)  *  Quickie Glue Pen  *  Fairy Dust Glitter, Sugar Shimmer  *  Glue Dots  *  Marianne Design Card Carousel Die * Spellbinder Die - Blossoms Three  *  My Favorite Things Die-Namics - Flag Stax, Flag Stax Layers & Flower Trio  *  Sheer Ribbon * Pink Shimmer Card Stock  *  Patterened Papers:  MME 6x6 Pads - Love Me & Indie Chic Safron + Lost & Found 6x6 - Blush  *  Various Sentiments to match your theme  *  ATG  *

Directions:
* To start off you will need to cut out your card base, cut 2 @ 10-1/4 x 6 + 1 @ 6 x 5-1/8

* You will need to choose your paper(s) and cut 10 @ 5-3/8 x 4-3/8.  I chose 5 different co-ordinating papers and cut 2 of each.

*Choose 4 images and 4 sentiments + a cover sentiment or decorative- I also chose to put a "handmade by" stamp on the back of the card.  The reason I did not put an image on the front and chose a sentiment instead is because when the carousel is opened the front and back of the card is not seen.  Also I chose a Spellbinder set that co-ordinated with my images and also had a few different size selections that I used throughout the whole card for a uniform look (I am a little anal that way if you have not noticed)
 
*Next you will need to cut out 4 pieces of the Marianne Design Card Carousel Die - see picture below....

*Using your ScorPal, score where I have noted on the bottom right die cut in the picture above.
 
* Next I put my card 2 large pieces of the cardbase together on top of each other and the smaller piece in the center of the "book", then  I placed all my patterened papers on the the card bases in the order that I wanted them to be seen on the carousel.  Be sure to attach a piece of ribbon on the underside ofthe front andback pieces of paper so as to create the tie to close the card.
 
*Once you have on your papers, add your "flower"anchors where two pages of the book join to keep each page attached to each other (this step can been seen on each page showing an image below).
 
*Next you will want to add your sentiments and coloured images to all the remaining pages.  Dont forget to add a "Handmade by" on the back cover!
 
*Once you have all your indsides completed, add adhesive to the small scored tabs of the carousel die pieces and attach to each section of the insideofthe book.
 
Below I have pictures to show you of each completed step of my book!  Copic colours used on all images will be listed at the end of this post for your refference if interested.
 
*My outside cover using the wonderful sentiment from DoCrafts Wellington 8x8 Stamp Set....
 
*Below is page one & two of my book...

*Here is a close up of the High Hopes Sentiment that I used on page 1....

*Here is a close up of the Whimsey Wee Stamps Rosetta with a paper pieced vest, that I used on page 2.  I did 3D effect the larges flower as well...


*Below is page 3 & 4 of my book....

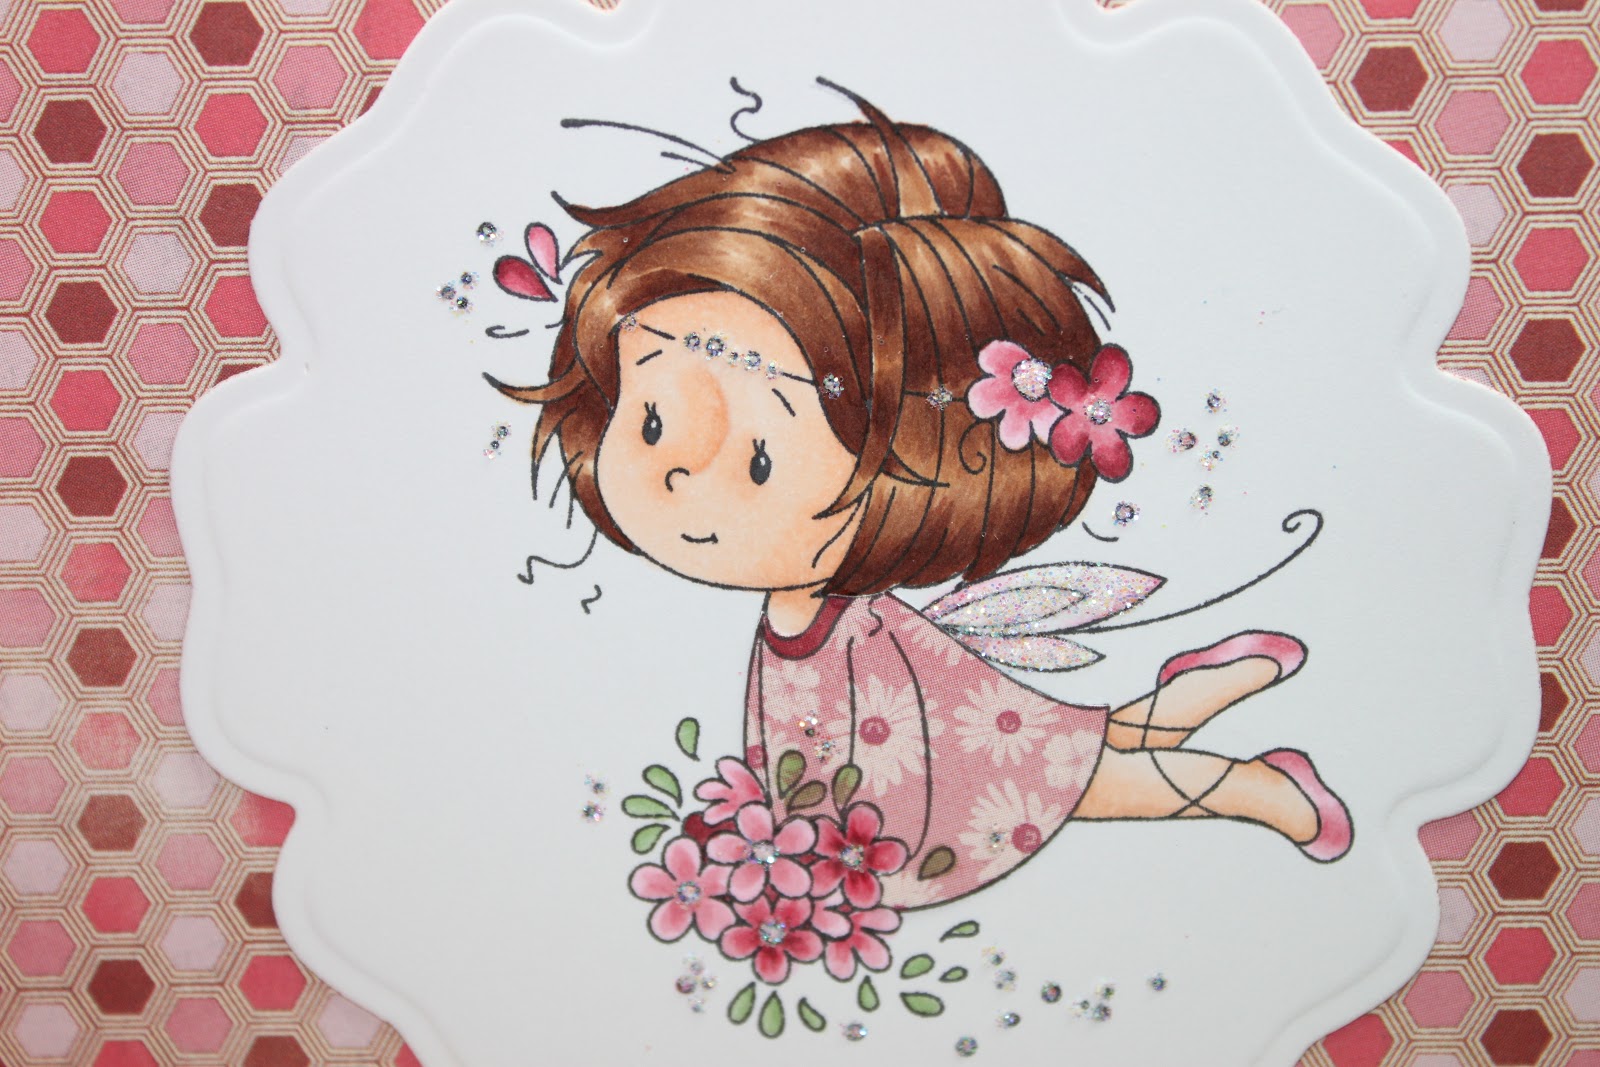
*Here is a close up of the Whimsey Wee Stamps Flower Fairies (#1) with a paper pieced dress, that I used on page 3....

*Here is a close up of the Your Next Stamp Whatnot Sentiment that I used on page 4....

*Below is page 5 & 6 of my book....

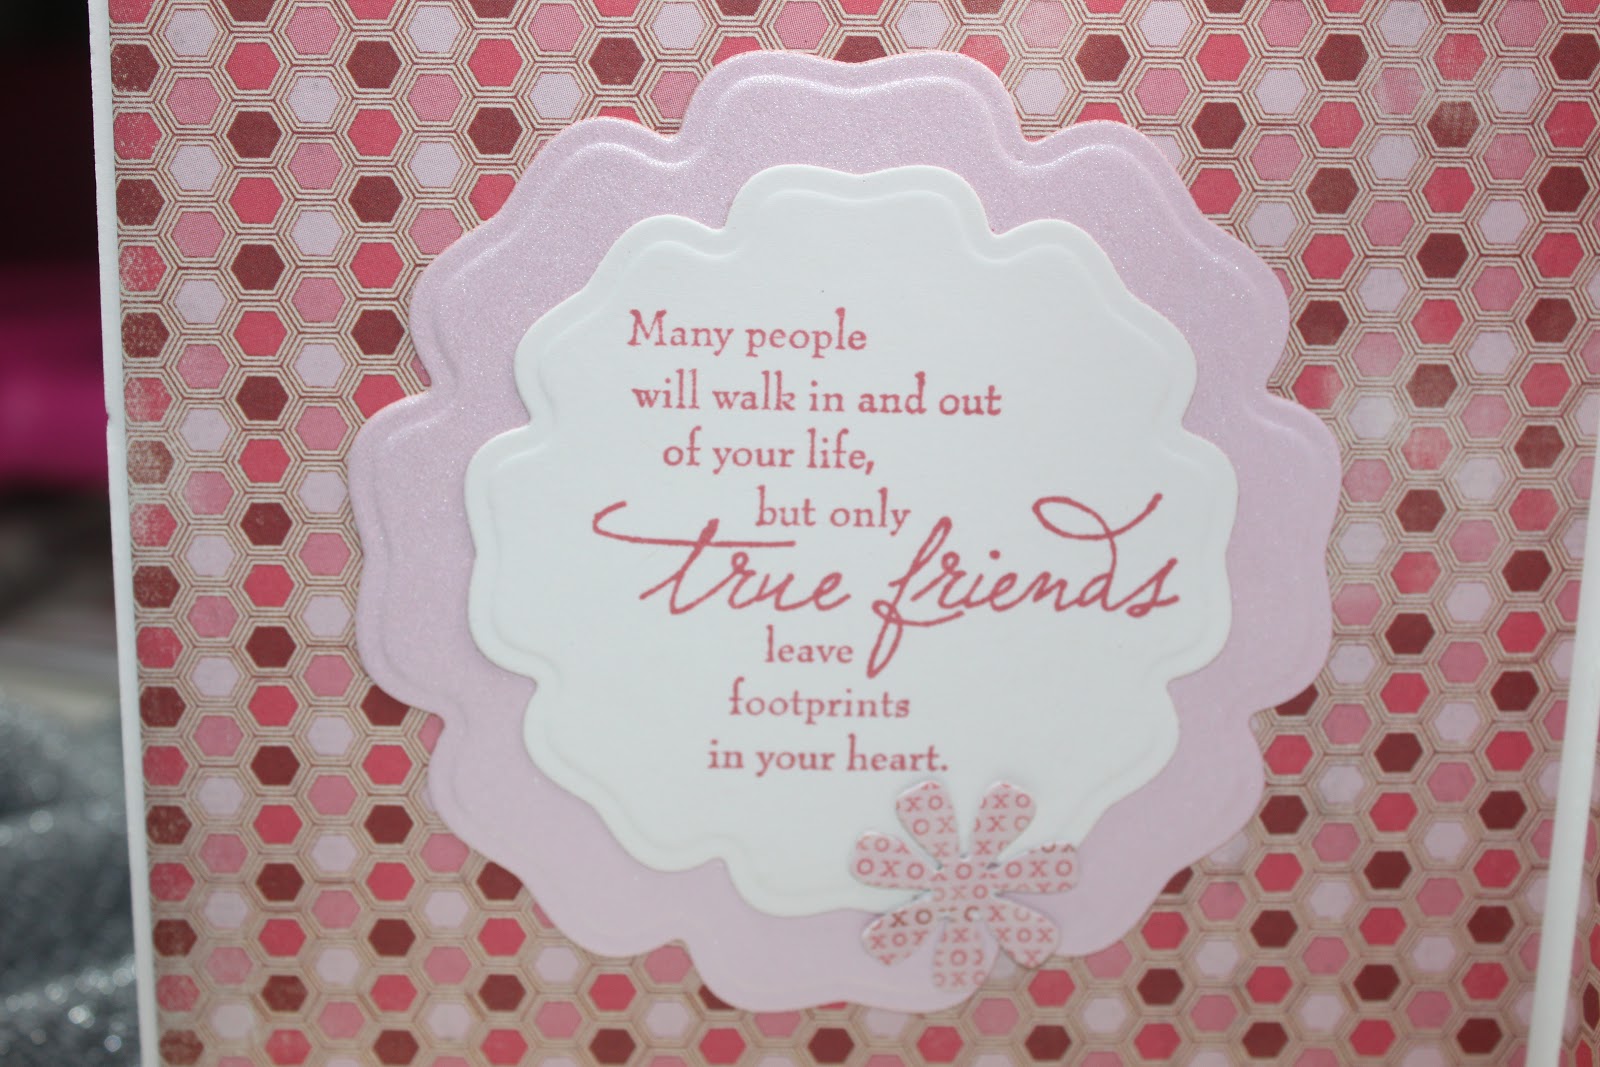
*Here is a close up of the Stampabilities True Friends Sentiment that I used on page 5....

*Here is a close up of the Whimsey Wee Stamps Flower Fairies (#2) with a paper pieced dress, that I used on page 6....
 
*Below is page 7 & 8 of my book....
 

*Here is a close up of the Whimsey Wee Stamps Ruby with a paper pieced vest, that I used on page 7....

*Here is a close up of the Your Next Stamp Whatnot Sentiment that I used on page 8 - this is also where I will write a little some thing to the recipient of the beautiful book/card....

*This is the back cover ofmy book that I decided to put a "Handmade By" sentiment to finish off the project.  Tie up the book with a pretty little bow and voila!...


*Here is a view of the book before it is tied into the carousel....

*Here is what the full carousel card looks like when opened and tied on the side - pictures sure do not do this justice so hope you get the jist of it....
Copic Colours used on all Images:  *Skin-E11, E00, E000 *Dark Hair-E49, 59, E25, E50  *Lighter Hair-E29, E27, E23, E50  *Pinks-R56, R85, R83, R81, RV10, RV000  *Greens-G24, G21, G20  *Other-E40, E23
 
Well, that is my tutorial I prepared for you, I hope that you will give it a try as I am sure you will see a few more of these on my blog in the future because they are soooo much fun to make!  I would sure love to hear your thoughts on this fun card if you have time =)
 
Until Next Time, Keep Crafting!
Hugs;
 

Wednesday, May 8, 2013

Better Together

Good Wednesday morning!  I hope you are having a wonderful day so far and that it just keeps getting better and better.  On a personal note, last Saturday being National Scrapbook Day, I was able to attend part of the crop that One Crazy Stamper had.  It was a pleasure meeting more of my design team sisters and I hope I will be able to see them again in the future.  Now, back to business....

I needed an anniversary card for this week so I inked up an older image, backed it with a Spellbinders Nestabilities die and added some flowers (which just happens to be our current challenge for the month..click HERE for all the details).


A close up of the stamp:


Copics Used: Birds ~ B21, B23, B24, B26, Y11, Y13, Y15, YR00, YR02; Swing ~ E11, E13, E15; Roses ~ R81, R83, R85, R56; Leaves ~ YG61, YG63, YG67; Heart ~ R22, R24; Sky ~ 0, B000

Thanks for stopping in.  You can now enjoy our blog with Blog Lovin' and Pinterest ~ just follow the prompts in the sidebar.  Enjoy your day!

Hugs,