Showing posts with label Glitter Ritz. Show all posts

Wednesday, August 19, 2015

Season of Joy

Hi Fellow Crafters;

This is my updated post from last week, using some new Dreamweaver Stencils from OCS.  I am finding that there is a learning curve for this new technique.  I did discover some things that one should and shouldn't do.


For the Season of Joy Dreamweaver stencil, I used the Pearlescent Dreamweaver Embossing Paste and didn't add any other mica powders or glitter. I taped the stencil down on a sheet of Spectrum Noir (100 lb weight) paper using removeable scotch tape.  I also think that maybe I should have used a darker cardstock.

For the Tall Poinsettia, that I used last week, I used some Translucent Dreamweaver Embossing Paste this time and then added some Glitter Ritz using a mask on some areas so that the glitter wouldn't go where it shouldn't go. It might have been easier to mix a bit of glitter in the paste.


Now for what I discovered that one should do and not do;  
  1. Do use removeable scotch tape -- the tape has to say removeable, otherwise some paper will come off when you remove it.
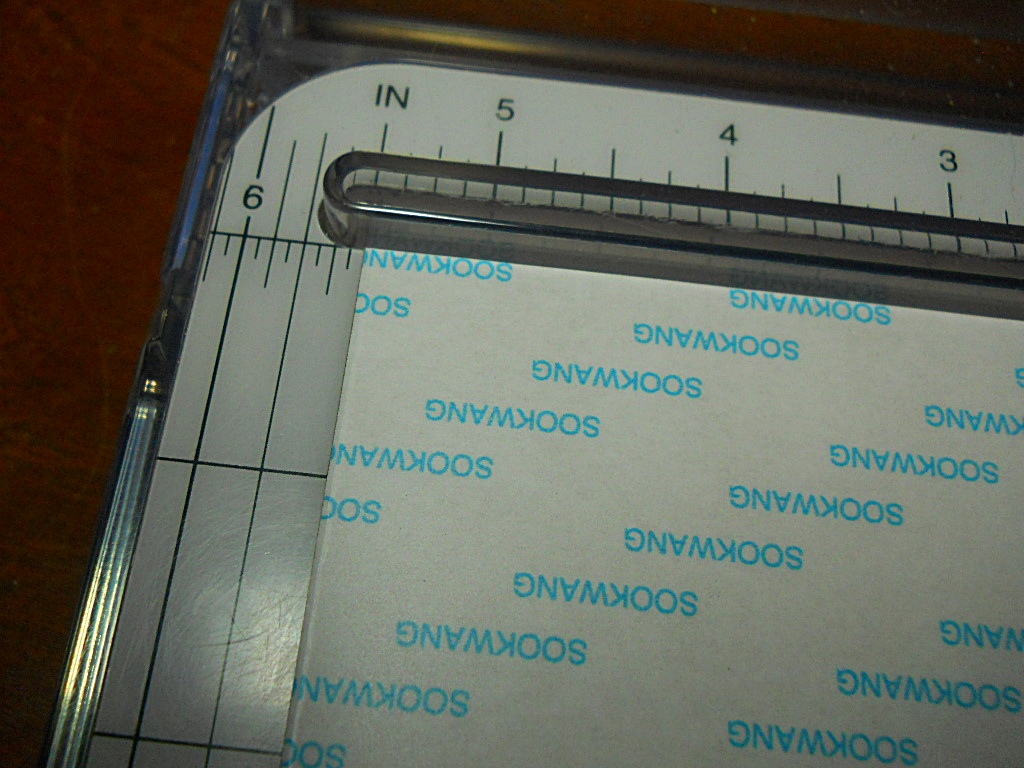
  2. Make sure that the stencil is down flat, so that none of the embossing paste will seep through where it shouldn't
  3. When done, remove the stencil gently, so as not to pull on the paper.  If you leave it on while it dries, it will stick to the paper and when it is removed, the paper will come off with it.
  4. Have a container of with  some soapy water in, so that the stencils can be dropped in and wash.  Once the paste has dried, it is harder to clean the stencils.
  5. I  found that the glitter pastes didn't work as well.  They seem to be thicker than the embossing pastes, to which some micro powders can be added.
This has been a learning experience, but this is what our creativity is all about.

Make sure you check out Lora's OCS store for some amazing products and prices.  Also stay tuned for some fun that will start on September 1st.

Until next time, happy crafting.

Hugs


Friday, October 25, 2013

Did you know... It Is Only 2 Months Till Christmas!!!

Hello and Happy Friday!  Since today is the 25th of the month that means that it is only 2 months until Christmas so I decided to show you a Christmas card to celebrate the countdown to the big day!

Today I not only have an adorable image to show you that I am very proud of how the colouring turned out, as well as a technique that you may not have tried yet and is easy to incorporate into your card making and scrapbooking - Glitter Ritz!
On this card all the red accents you see (the scalloped circle and the outline of the sentiment) were all done using Glitter Ritz to help make the card sparkle!

Here is a look at the inside of the card...
 
Here is a close up of the image to see the Copic colours used....
Copic Colours Used:  * Skin:  E11,E00, E000  * Hair:  E37, YR24, Y26, Y21, E50  * Greens:  G28, G24, G21, G20  * Kitty:  E37, E35, E34, E31, E30,R21, R20  * Red:  R89, R39, R37, R35  * Whites:  C3, C1, C00 + Fairy Dust Sugar Shimmer Glitter  *

Here is an angled view to see the glittered areas a little better and to see the Glitter Ritz effect on the scalloped boarder....

So with only 2 months till Christmas, have I inspired you to get started on your Christmas cards too?


Until Next Time, Keep Crafting!
Hugs;

Wednesday, September 18, 2013

Woof! Woof! Christmas

Good Morning.  Glad you could make it for another "Wonderful Wednesday" here at One Crazy Stamper.  First, I just want to mention that I had an incredible time this weekend at the 12 hours crop and I am hoping if you are local that you can join us next time.  It was great to get to visit with Lora, her family, her staff, the guests that did "Make and Take's" and some of my Design Team sisters.

Now on to what you really are here for.  Christmas just keeps on coming this month and I have another cute High Hopes stamp to show you.  I know I mentioned last week that I enjoy using non-traditional Christmas colours and I have done that once again.  I also tried a new to me product Glitter Ritz and was pleased with how it turned out.


Supplies Used:  Copic Xpress It Blending Card StockMemento Tuxedo Black InkHigh Hopes "Dog Trio Block"Copic MarkersGlitter Ritz Cool HighlightKaisercraft Rhinestones Pink

A close up of the image showing the Copic colours and the Glitter Ritz:


Copics Used:  Dog 1 ~ E23, E25, E27, E29, E50, RV10, RV11, RV13, RV14; Dog 2 ~ T0, T2, T4, T6, T10, YG03, YG05, YG07, RV32, RV34, E50, E51; Dog 3 ~ E40, E41, E42, E43, E44, E47, E49, BV00, BV02, BV04; Bird ~ B01, B02, B04, BV0000, BV000, BV01

Thanks for coming by today.  It is not too late to join our "CHRISTMAS" challenge this month for your chance to win some prizes.  See the above pinned post for details.  Until next time, keep crafting.

Hugs,

Tuesday, May 7, 2013

Glitter Rules!!!!!

Welcome to Terrific Tuesday time here at One Crazy Stamper, and this month I get to show you all a great tutorial featuring a variety of items that can be purchased at the online store. When I first saw this tutorial late last year, the original instructions used the Outline Peel-off Stickers from any of the companies that now sell this item, but I wanted to try for the same look using several of the Memory Box dies that I have been collecting. The end result is stunning!!!
So gather your supplies -
Sookwang Scor Tape, Copic Xpress It cardstock, Glitter Ritz in any of the white or clear colors, Cardstock of your choice, Copics, Glitter Magnet, Tweezers, Cuttlebug, Metal Shim plate, paper trimmer, Memory Box dies, Art Institute Dries Clear Adhesive, Microbeads


Cut Scor Tape to the finished size of your card front ( 5 1/2" x 5 1/2" )


Cut Copic Xpress It cardstock to the same size as the Scor Tape.
Peel off backing paper from Scor Tape and adhere to the Copic Xpress It cardstock.

Cut your choice of Memory Box dies from cardstock.


Using tweezers carefully place die cuts on the exposed layer of the scor tape - be sure to not touch the surface of the tape as that will effect the adhesion of the glitter to the tape.


Once you have the dies placed on the sticky surface of the scor tape, you can then add the Glitter Ritz.
With your fingers, carefully burnish the glitter onto the card surface, shake off excess ...

... and remove any remaining glitter with the glitter magnet.
Now, for the fun!! Use your Copic markers to color your glittered images.

I have used the following on the Memory Box Wild Sunflower diecuts:
Yellow - Y13, Y15, Y17, Y38
Dark Yellow - YR21, YR23, YR24, YR27
Rusty Red - E07, E19, E18
Leaves - G21, G24, G28
Sky - BG01


Now, if you know me, you will know that I love to add more depth to card fronts, so out came my trusty Art Institute Dries Clear Adhesive and Microbeads to cover the flower centers.

Here's the finished card front in all of it's glittery finery!! The butterflies were done using some of the outline peel off stickers from my stash ( and now I will need to add some of the beautiful Memory Box butterfly dies to my collection ), and the sentiment is an oldie from My Sentiments Exactly!

The finished look of this technique is so different than if you first colored the images and then covered them with glitter - the colors are so much more vibrant!!
 
I hope you have enjoyed this tutorial, and that you want to try this stunning technique for yourself - you will be surprised at how easy this technique is to master!!


Tuesday, October 16, 2012

Sugar and Spice

Terrific Tuesday time at One Crazy Stamper and I have another fabulous fall themed card with Lulu to show you today.

This pretty little Lulu is from the Kraftin Kimmie stamp set "Sugar and Spice", as is the sentiment. I have stamped the image on watercolor paper with Staz-on Jet Black ink, then colored it with Distress ink reinkers and a Pentel waterbrush. The frame is the Memory Box die "Orchard Tree" which I cut from a 6" x 6" sheet of Scor Tape, and then glittered with Java Bean Glitter Ritz. The leaves of the tree were highlighted with a Flower Soft mixed color.

Card Recipe - Dress - Seedless Preserves
Bow - Evergreen Bough
Skin - Tattered Rose, Tea Dye
Cheeks - Spun Sugar
Cat - Spiced Marmelade
Bench - Rusty Hinge, Vintage Photo
Hair - Wild Honey, Walnut Stain
Shoes - Black Soot
Socks - Shaded Lilac
Background - Weathered Wood, Mustard See, Dried Marigold
 
Are you looking for a great way to spend this coming weekend - if you are you should check out Kraftin' Kimmie's 3rd Annual Krafty Day Saturday, October 20 in London, Ontario. There will be lots of Krafty fun - kroppin' and kraftin' space, exculsive tote bags and a stamp, four make n' takes, snacks, lunch, draws, door prizes, and lots more. For more information please click here.

Sunday, June 10, 2012

Path of Life

Hi All;

It is a gorgeous, hot and humid Sunday here.  For today's post for One Crazy Stamper I definitely went outside of my comfort zone -- time to spread the wings.  No copic markers were used and the only stamp used was the Whimsy Ticket Notes Sentiments with the Ticket Die.  I even added DP to the inside of the card which I never do.
I put some of the Be Creative Tape on X-Press It Cardstock and cut the shape out using the Selena Butterfly.  I took off the top layer of the shape and used it to cut out the Maribelle Butterfly out, which I then put on the original cut out.  I added one colour at a time by removing the individual sections.

Here is the inside of the card.


Supplies used:
Do go out of your comfort zone and let us see what you create for this month's challenge.  You have until the end of the month to be creative for a chance to win a Heartfelt Creations stamp set.  Check out Lora's store One Crazy Stamper for some amazing deals.


Tuesday, March 20, 2012

Alice in Glitterland!!

Welcome to my first ever tutorial for One Crazy Stamper!! 
This is going to be a long post, so grab a cup of coffee or tea, sit back, relax, and learn how to do the fabulous burnished velvet technique with micro fine glitter, that I have used for the front of my card!!  The image and sentiment are from Kraftin' Kimmie Stamps "Alice in Wonderland" stamp, colored with Copics then fussy cut, and popped up on the glittered card front.


You will need the following items to get started - paper of your choice for the front of your card, Glitter Ritz ( I used Canadian Blue, Sky Blue, Purple, Rose, Grasshopper, and Silver ) in the colors of your choice, Scor Tape, large makeup brush, punches, fine tip tweezers, glitter clean up cloth, saved Scor tape white cover paper, and scissors.


Adhere the Scor Tape to the paper that will be the front of your card by removing the brown backing paper from the tape.  Remove the white cover paper and save for later use.  Do not touch the sticky tape with your fingers, as the oil from your hands will affect the adhesive and may cause the finished glitter to appear blotchy. 

Using saved pieces of the white cover paper from the Scor Tape, punch out any shapes that you want to use, and then using the tweezers carefully apply these shapes to the front of the card.  Make sure to rub the punched pieces down on to the exposed sticky tape to prevent the glitter from adhering under the punches.  You must use the saved pieces of the white cover paper as any other product will not release from the sticky tape.
                                            
Again using saved Scor Tape pieces, cut out the center where you do not want the glitter, and adhere over the sticky tape.  Pour the first color of glitter over the sticky tape, this will be the main color of your card front.  Using your fingers rub (burnish) the glitter into the sticky tape until the entire card front is covered.  Remove the excess glitter by shaking it off and using the make up brush.
Carefully peel off the large piece of Scor Tape cover paper, cut it into strips, and then replace some of those strips, apply different glitter colors using the same method as above.  Repeat until the card front is totally covered.

To finish the card front, remove the punched shapes with tweezers, cover with the last color of glitter, burnish, shake off excess, and surprise - you have completed a beautiful burnished card front!!
I hope that you enjoyed this tutorial, and that you will try out this stunning technique as I know that you will love the finished project!! 
You still have 10 days to enter the monthly challenge at One Crazy Stamper to win a fabulous prize, so get creative, and play with us!
Have a wonderful day!!

Tuesday, January 24, 2012

Fred Bear the Snow Bear

My last post this month for the challenge here at OCS, and as a reminder of the theme of the challenge this month my card is RED/WHITE and the color of my choice, black.

My card features a My Favorite Things stamp entitled "Fred Bear, Snow Bear" one of my favorite images from MFT.  As usual the image was stamped on Copic Xpress It blending paper with Memento ink and colored with Copic Sketch Markers.  The red cardstock and the snowflake were embossed in my Cuttlebug with embossing folders, and the snowflake was inked and glitttered.  The Snow Buddies sentiment was handwritten with Art Glitter Designer Dries Clear Adhesive and Metal tip, then both the sentiment and the snowflakes were glittered with the Cool Highlights Glitter Ritz.