Friday, June 21, 2013

Carousel Card Tutorial

Hello and happy Friday!  Today is a special post for me as I am going to share with you a tutorial on how to create a "Carousel" Card.  What I love most about this type of card is that it is a gift all on it's own for whom ever you create it for, I guess you could say it is a mini book card.  When I was creating this card I used my favorite colour, adorable images and sweet sentiments.

I am going to forewarn you that this post is going to be VERY picture heavy.  I am not a videographer so I decided to make my tutorial using photos - I sure hope you enjoy it and I would LOVE to hear your thoughts after you have had a chance to check it out!

What made me want to make this card is this amazing Marianne Design Card Carousel Die that Lora sells in the One Crazy Stamper store, here is a photo for you to see what the die looks like...
 This great Craftable Carousel die will give you the opportunity to make unbelievable cards. You can make a full circle (which is what I have to show to you today using the largest of the dies), half a circle, or just a quarter. The possibilities are endless!

Here are photos of the tools and supplies that I used to create this amazing card....
 
Supplies Used: * Whimsy Wee Stamps - Rosetta, Flower Fairies & Ruby  * DoCrafts Wellington 8x8 Stamp Set  * Your Next Stamp, Watnot Sentiments  * Stampabilities True Friends Sentiment  * High Hopes Thinking of You Sentiment  *  Menento Inks - Tuxedo Black, Rich Cocoa & Rhubarb Stalk  *  Copic Xpress It Paper  *  Copic Sketch Markers (colours used listed below)  *  Scor-Pal 1/8 Scor Tape  *  Scor-Pal  *  Bazzill Basics Simply Smooth White Cardstock (for card Base & carousel)  * Squishy Scissors (for intricate cutting)  *  Quickie Glue Pen  *  Fairy Dust Glitter, Sugar Shimmer  *  Glue Dots  *  Marianne Design Card Carousel Die * Spellbinder Die - Blossoms Three  *  My Favorite Things Die-Namics - Flag Stax, Flag Stax Layers & Flower Trio  *  Sheer Ribbon * Pink Shimmer Card Stock  *  Patterened Papers:  MME 6x6 Pads - Love Me & Indie Chic Safron + Lost & Found 6x6 - Blush  *  Various Sentiments to match your theme  *  ATG  *

Directions:
* To start off you will need to cut out your card base, cut 2 @ 10-1/4 x 6 + 1 @ 6 x 5-1/8

* You will need to choose your paper(s) and cut 10 @ 5-3/8 x 4-3/8.  I chose 5 different co-ordinating papers and cut 2 of each.

*Choose 4 images and 4 sentiments + a cover sentiment or decorative- I also chose to put a "handmade by" stamp on the back of the card.  The reason I did not put an image on the front and chose a sentiment instead is because when the carousel is opened the front and back of the card is not seen.  Also I chose a Spellbinder set that co-ordinated with my images and also had a few different size selections that I used throughout the whole card for a uniform look (I am a little anal that way if you have not noticed)
 
*Next you will need to cut out 4 pieces of the Marianne Design Card Carousel Die - see picture below....

*Using your ScorPal, score where I have noted on the bottom right die cut in the picture above.
 
* Next I put my card 2 large pieces of the cardbase together on top of each other and the smaller piece in the center of the "book", then  I placed all my patterened papers on the the card bases in the order that I wanted them to be seen on the carousel.  Be sure to attach a piece of ribbon on the underside ofthe front andback pieces of paper so as to create the tie to close the card.
 
*Once you have on your papers, add your "flower"anchors where two pages of the book join to keep each page attached to each other (this step can been seen on each page showing an image below).
 
*Next you will want to add your sentiments and coloured images to all the remaining pages.  Dont forget to add a "Handmade by" on the back cover!
 
*Once you have all your indsides completed, add adhesive to the small scored tabs of the carousel die pieces and attach to each section of the insideofthe book.
 
Below I have pictures to show you of each completed step of my book!  Copic colours used on all images will be listed at the end of this post for your refference if interested.
 
*My outside cover using the wonderful sentiment from DoCrafts Wellington 8x8 Stamp Set....
 
*Below is page one & two of my book...

*Here is a close up of the High Hopes Sentiment that I used on page 1....

*Here is a close up of the Whimsey Wee Stamps Rosetta with a paper pieced vest, that I used on page 2.  I did 3D effect the larges flower as well...


*Below is page 3 & 4 of my book....

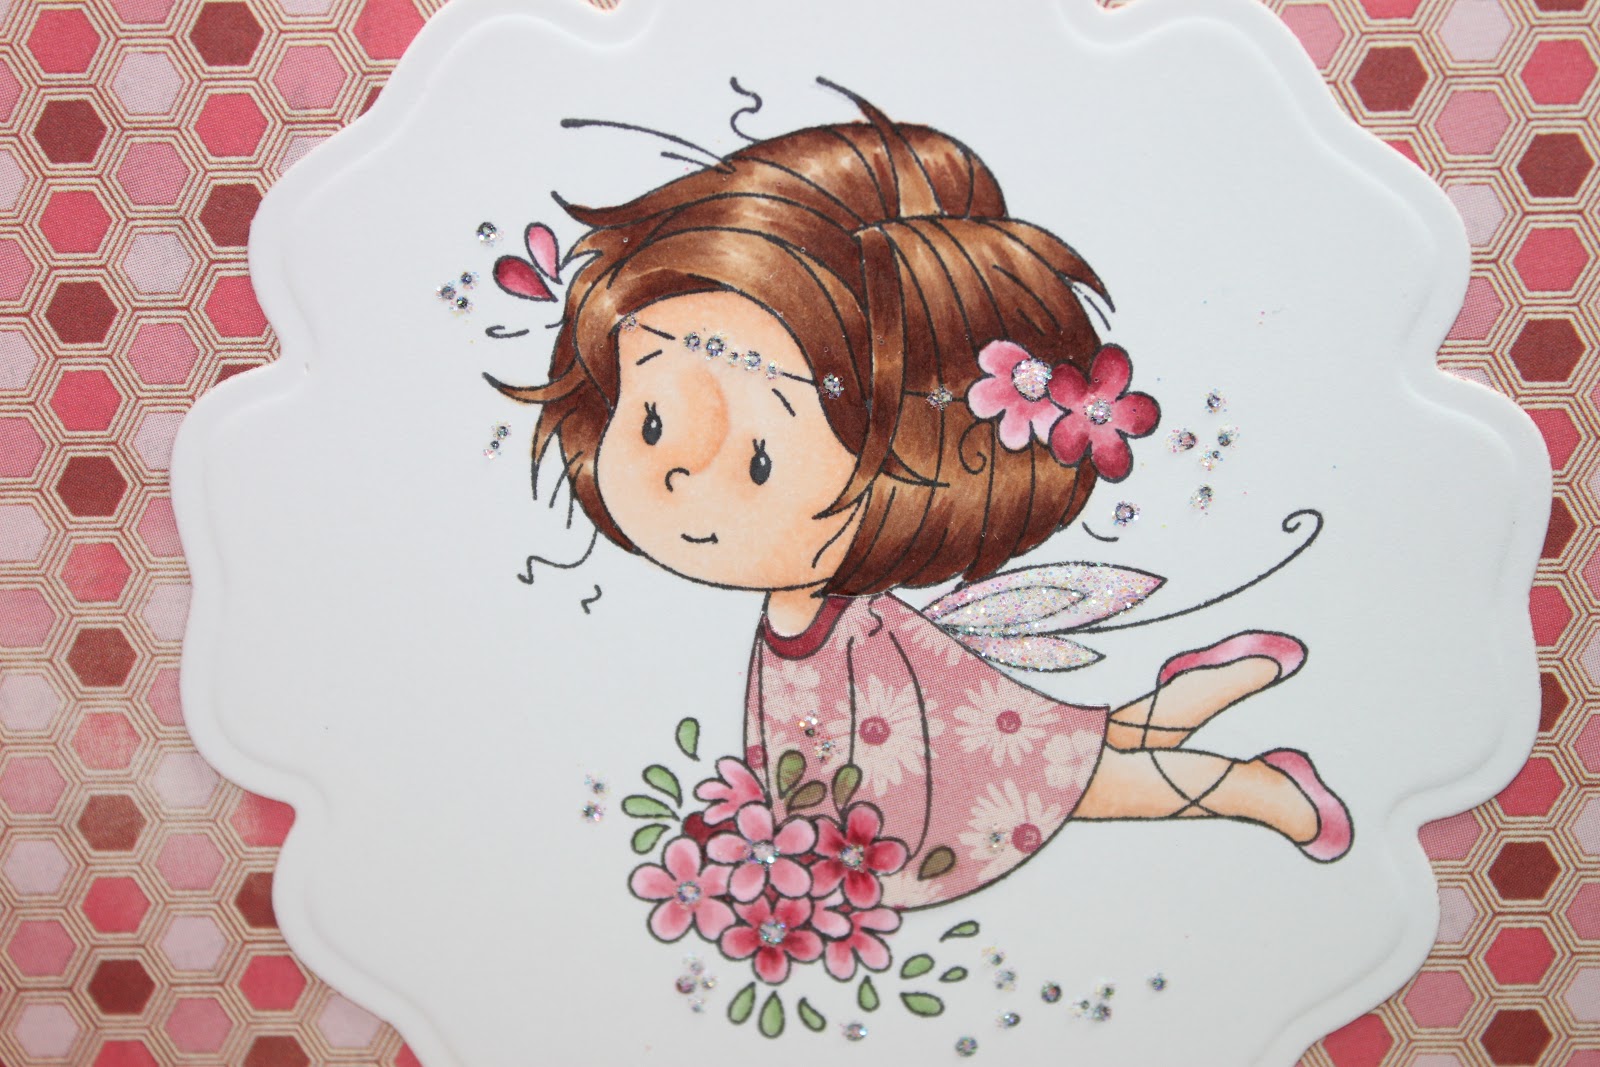
*Here is a close up of the Whimsey Wee Stamps Flower Fairies (#1) with a paper pieced dress, that I used on page 3....

*Here is a close up of the Your Next Stamp Whatnot Sentiment that I used on page 4....

*Below is page 5 & 6 of my book....

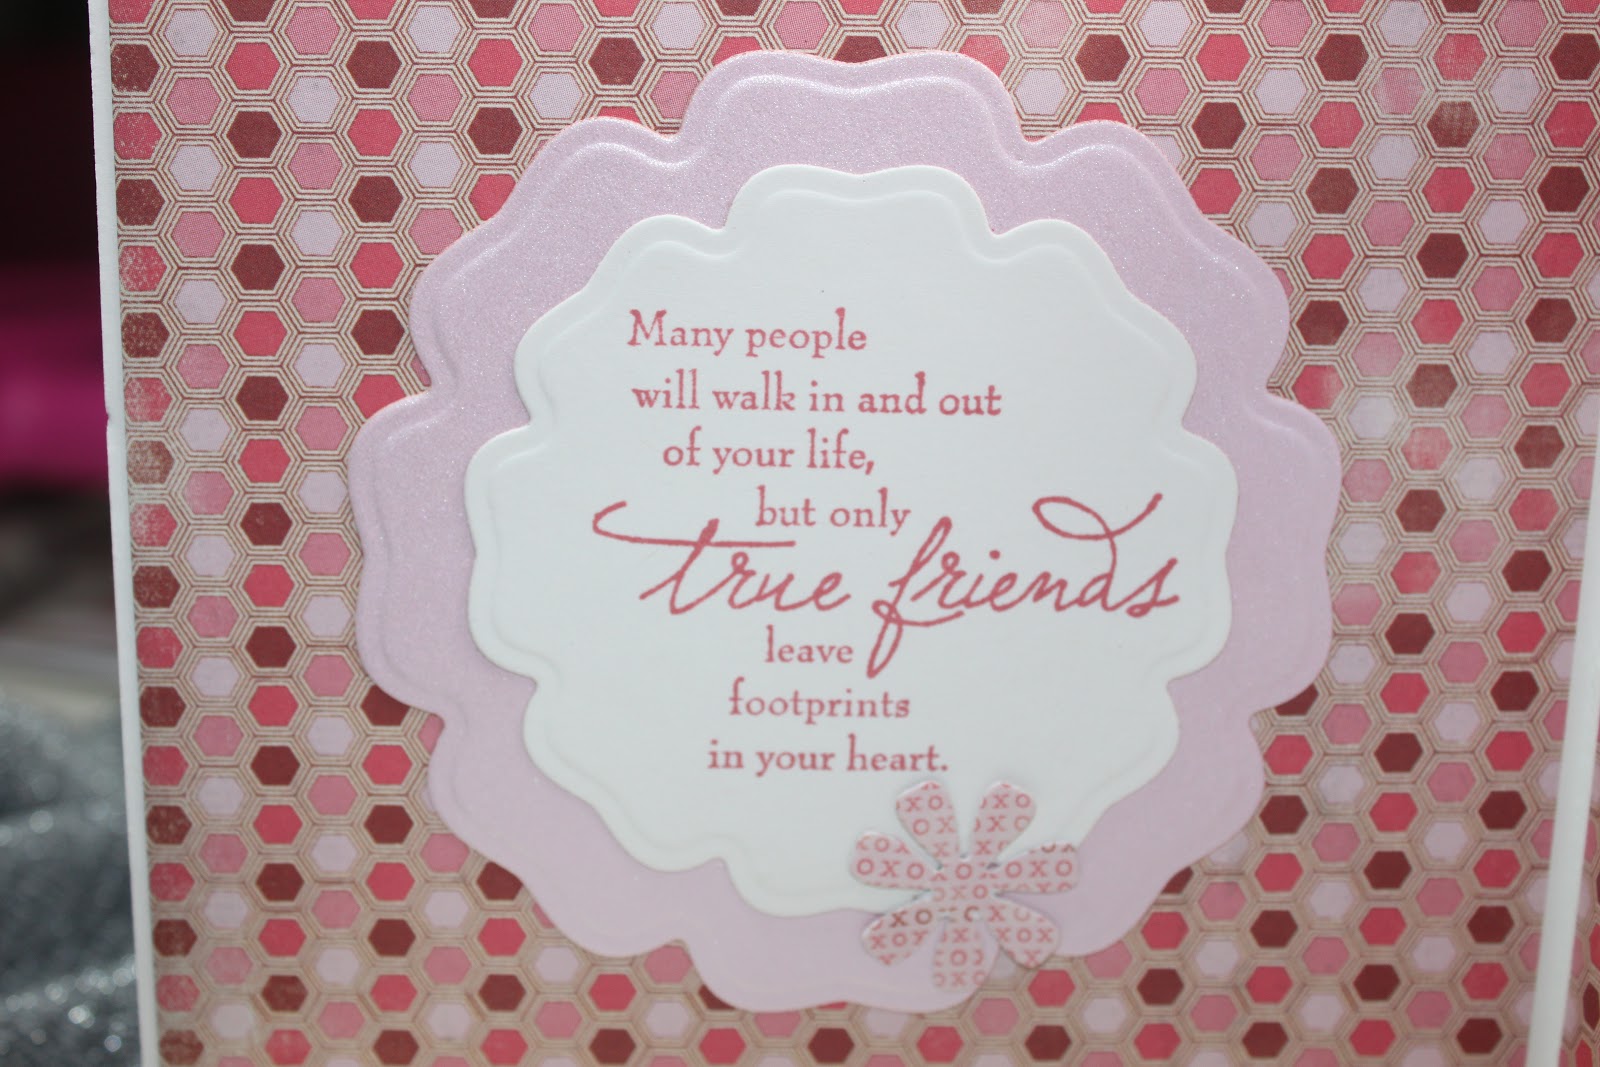
*Here is a close up of the Stampabilities True Friends Sentiment that I used on page 5....
*Here is a close up of the Whimsey Wee Stamps Flower Fairies (#2) with a paper pieced dress, that I used on page 6....
 
*Below is page 7 & 8 of my book....
 

*Here is a close up of the Whimsey Wee Stamps Ruby with a paper pieced vest, that I used on page 7....

*Here is a close up of the Your Next Stamp Whatnot Sentiment that I used on page 8 - this is also where I will write a little some thing to the recipient of the beautiful book/card....

*This is the back cover ofmy book that I decided to put a "Handmade By" sentiment to finish off the project.  Tie up the book with a pretty little bow and voila!...


*Here is a view of the book before it is tied into the carousel....

*Here is what the full carousel card looks like when opened and tied on the side - pictures sure do not do this justice so hope you get the jist of it....
Copic Colours used on all Images:  *Skin-E11, E00, E000 *Dark Hair-E49, 59, E25, E50  *Lighter Hair-E29, E27, E23, E50  *Pinks-R56, R85, R83, R81, RV10, RV000  *Greens-G24, G21, G20  *Other-E40, E23
 
Well, that is my tutorial I prepared for you, I hope that you will give it a try as I am sure you will see a few more of these on my blog in the future because they are soooo much fun to make!  I would sure love to hear your thoughts on this fun card if you have time =)
 
Until Next Time, Keep Crafting!
Hugs;
 

Thursday, June 20, 2013

My Turn!!

This is my card the image is a Sarah Kay the stamp is called Laura and Henri..I stamped it on white cardstock using MEMENTO TUXEDO BLACK INK..I coloured this lovely pair with PRISMA PENCILS and GAMSOL..NO COPICS I think I must be under the weather..

used these babes to distress the edges of all of my papers

these are the two set used to create this card...


I also used Stampendous FRANTAGE on the edge of the image..all of my supplies can be found at One Crazy Stamper..just click on the link  http://www.onecrazystamper.com

Pleae join us over at the challenge blog the theme is SUMMER Lora offers great prizes
http://onecrazystampercom.blogspot.ca

PRISMA PENCILS USED
Light Peach
Peach
Burnt Ochre
Limepeel Green
Green Olive
Prussian Green
Black
Deco Pink Henna
Maghony Red
Black Raspberry
Light Umber
Chocolate
Sepia

I hope you like this card I just love these little kiddies..have a great day and make time to create..hugs


Wednesday, June 19, 2013

Lovely Lilliana

Hello all and welcome to another "Wonderful Wednesday" at One Crazy Stamper.  Time sure is flying. It is almost the first day of Summer and almost time for me to go on vacation.  That I am looking forward to.

The card I have for you today is made with an image from Saturated Canary.  I first found these stamps in digi form but was excited when they became available in rubber as I enjoy holding the stamp in my hot little hands....weird I know, but that is just me.

Here is the lovely Lilliana made for a friend's birthday:


A close up of the image:


Copics Used: Skin ~ E00, E02, E11, R20; Eyes ~ B32, B34; Hair ~ E25, E31, E33, R83, R85, R56; Pants ~ E41, E42, E43; Top ~ B01, B02, B05; Bow, Shoes ~ R81, R83, R85, R56; Ground and Grass ` E40, YG93, YG95, YG97; Sky ~ B000, 0

Thanks for stopping in today.  There is still time to enter our "Summer Fun" challenge.  See the above pinned post for all of the details.

Have a great day and remember, it is only 2 work days to the weekend. 

Hugs,

Tuesday, June 18, 2013

"Summer"time

The official first day of Summer is only three days away, for then we can say hello to the beautiful heat of the summer sun. It seems that here in the Calgary area we have had a lot of rain, rain, and more rain, so I am really hoping that the start of summer will mean that rain will go away, and the sun will stick around. Keeping my fingers crossed!!
My card for Terrific Tuesday here at One Crazy Stamper, features one of the newer images from Your Next Stamp entitled Summer. I've colored the image with Copics, then used a couple of different sizes of the Spellbinders Labels 2 die to mat and frame the image. The sentiment is from the Whimsy Stamps Summer Oval Letter Seals set, the flower detail is a Martha Stewart border punch, and the ribbon and designer paper is from my own stash.


Monday, June 17, 2013

Summer Fun Zumba Style

Hello Friends, wow, another fun week full of crafting at my house, been cyber-crafting with friends.  It seems  we can't get together in our craft rooms in person, but online, on the phone or face time whichever seems to be working.  We are getting some fun cards, projects done at least.  Today I get share another favorite fun image from Saturated Canary stamps that I got from One Crazy Stamper.  Her name is Zumba Chick, and let me tell ya, my friend had to tell me all about Zumba, and well it sure does sound like fun. I thought since it is Summer Fun challenge this month that this would be a cool way to get our shake on.  Thanks for stopping, remember to play along this month of Summer Fun!  Till next time, happy crafting!

Zumba Rocks

Hair-E21, E34, E47, E49.  Skin-E50, E42, E43, E44.  Hair Band and Shirt-YR23, YR24.  Pants-BG10, BG11, BG13.  Shoes-W7, W5, W4.  Background-W000, W0, W1, W2, W3, B0000, BG0000.  Eyes-Y26, Y47, BG11.  Waterdrops-BG10.  Lips-E04.

Sunday, June 16, 2013

Good, Clean, Fun

Hi Everyone;

Another rainy week has gone by and Sunday has rolled around again. For today's post for One Crazy Stamper,
I have used this adorable stamp called Good, Clean Fun from High Hopes Rubber Stamps.  It reminds of the times that I would put all three children in the bathtub to cool down and have a bit of fun as it was so hot in the summer and we had no air conditioning.


Supplies used:
There is still time to enter this month's Summer Fun challenge for chance to win a prize pack from One Crazy Stamper.

Saturday, June 15, 2013

A Special Thank You Tag

The day has finally arrived, my little sisters baby shower. I've been planing this for months, I cant wait to see her so happy(I love her a lot :).  Along side the catering, guest list, games, decorations and cake, I had a good friend make some cake pops as thank you gifts. So my post today is a bit different, I made 40 thank you tags to attach to the cake pops. I happened to have the perfect tag die and thank you stamp to use. The stamps set is one of a kind to One Crazy Stamper, which was made just for their one year anniversary and can only be found at the OCS store along with the tag die that I used.

p.s I did sample a few cake pops and they were amazing!

Time to get crafty and enter our "Summer Challenge" for a chance to win some fabulous stamps.


Supplies Used


Friday, June 14, 2013

Happy Birthday and many SMORE!

Hello and Happy Friday! While you are reading this I am on vacation with my Husband and a bunch of friends in Michigan paitiently waiting for the Nascar Race on Sunday! Go JR Go!
Following the Challenge theme for this month, I have made a fun "Summer" card to show to you today, check it out....

(I am sooo in love with colouring these fun little Dragons from High Hopes!)
Here is a look at the inside ofthe card....
SUPPLIES USED:  * Images: High Hopes, Smore Dragon + Camp Fire  * Copic Xpress It Paper  * Copic Markers (colours used listed below)  * Menento Ink: Tuxedo Black  * Happy Birthday Sentiment: My Favorite Things, Piggy Bank  * And Many Sentiment: Hero Arts, It's Your Day Set  * Smore Sentiment: High Hopes, Love you Smore
Here is a close up of the fun Dragon and the Fire to see the Copic colours used....
COPIC COLOURS USED:  * Greens: YG67, YG17,YG03  * Browns: E43, E42, E40  * Boots: T10, T8, T6  * Fire: R27, R24, YR16, YR14, Y17, Y15  * Logs: E47, E44, E43  * Stones: T4, T2, T0  * Marshmellow: E35, E31, E30  * Fire Stick: T2, T0, E47, E44  * Ground: E47, E44, E43, E42
You still have time to enter your project into this months challenge! I hope that my card may have inspired you to get crafting!


Until Next Time, Keep Crafting!
Hugs;

Thursday, June 13, 2013

Card but Very Not Happy !!

Whismy Stamps


Hello this is my card and looking at the title of my post you are probably wondering what?  Well I have had the day from hell..ok I have to be honest this whole week has been rough..My daughter is in exams and she is an over achiever...She also has anxiety trouble so I have been helping her..I hate to see her so upset and unhappy..I believe that a kid should be able to be a kid as long as possible and that their tears are special and should not be wasted on school...Exams whoever thought those up well  lets just get onto the card..Image is Whismy Stamps FLOWER FAIRIES..it was stamped using none other than MEMENTO TUXEDO BLACK INK on white CARD STOCK...She was coloured using COPICS & PRISMA PENCILS...the Butterfly is a MEMORY BOX DIE cannot recall the name because I threw the package out..all of my supplies listed can be found at One Crazy Stamper..just click on the link  http://wwwonecrazystamper.com The challenge theme is SUMMER FUN please join us...Lora gives great prizes..I have not glued this card down I need your input on how else to improve it..I am not to sure what it is but I just can't like it..So please leave a comment and help me..

COPICS USED

E0000, 000, 00, 02, R20
R81, 83, 85, 89
BG10, 13, 15, 18
YR0000, 000, 00, 01
BV01, 02, 04, 08
E29, 39,YR14, Y21 (hair)

PRISMA PENCILS

PC 943 Burnt Ochre (shading of skin)
PC947 Dark Umber, 943, 914 Cream (hair)
PC1032 Pumpkin Orange (dress)

Well I hope you enjoyed this post and please any advice I would love and when I have it totally finished I will post it!! thks again for all and visit the challenge blog the card are awesome.. http://onecrazystampercom.blogspot.ca


Wednesday, June 12, 2013

Chilax!!!

Good Morning!  Wednesday has rolled around once again and it is my turn to post here.  I have a card to show you for the upcoming Father's Day on the weekend for my son. 

I used a beaver image from High Hopes Stamps.  I like many things about these stamps but two things especially ~ you can most always find a sentiment to match your image and they are Canadian :)


A close up to see image:


Copics Used: Beaver ~ E41, E42, E43, E44, E47; Inner Tube ~ YG03, YG05, YG07, YR02, YR04, YR07; Water ~ B000, B00, B01; Drink ~ YG05, YG07, YG09, YR04, YR07, Y00, Y02, Y04, B000

Thanks for stopping by today.  Have a great one!

Hugs,